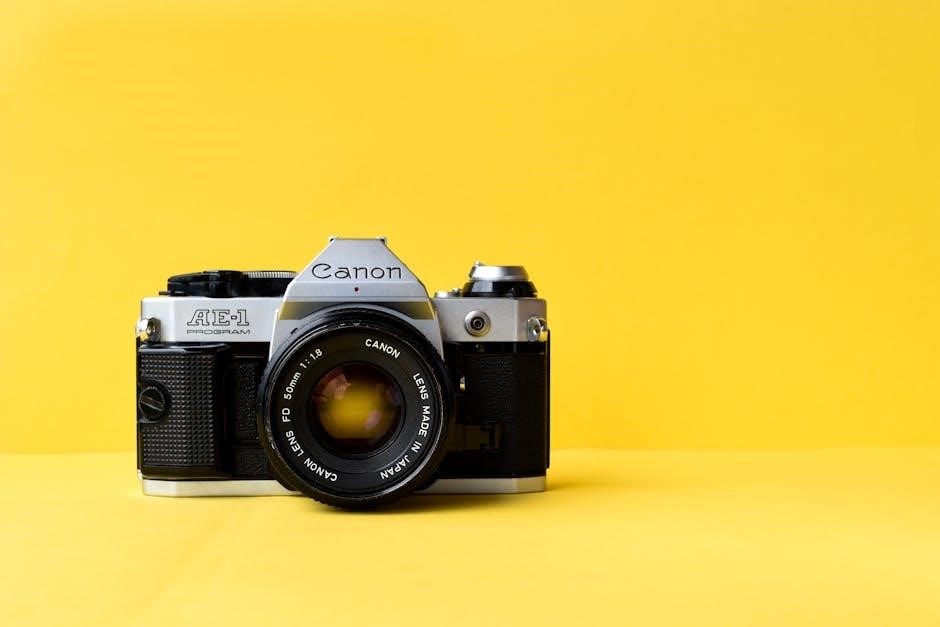
Canon MX490 Manual: A Comprehensive Guide
This comprehensive guide details the Canon MX490’s features, functionality, and setup, offering users a detailed resource for optimal printer performance and troubleshooting.
The Canon MX490 series represents a versatile all-in-one printer, scanner, and copier designed for home and small office use. This manual serves as your primary resource for understanding and utilizing the full potential of your new Canon device. It’s engineered to deliver high-quality prints, efficient scanning, and convenient copying functionalities.
The MX490 boasts a user-friendly design, incorporating features like wireless connectivity via WPS for simplified network integration. It supports both PDF and JPEG scanning formats, offering flexibility for document and photo preservation. Canon provides extensive support resources, including downloadable drivers, software, and frequently asked questions (FAQs) to ensure a smooth user experience.
While setup files may become unavailable five years after product discontinuation, the online manual remains accessible, offering continued guidance. This guide will walk you through everything from initial setup to advanced configuration, maximizing your Canon MX490’s capabilities.
Unboxing and Initial Setup
Carefully unpack your Canon MX490, ensuring all components are present: the printer itself, power cord, printhead, and any included software CDs or setup guides. Remove all protective tape and packaging materials, both inside and outside the printer. Connect the power cord securely to the printer and a working electrical outlet.
Before installing the software, physically inspect the printer to confirm no shipping damage occurred. The initial setup involves installing the printhead, following the on-screen prompts during software installation. Ensure the printer is turned on during this process.
For wireless setup, consider utilizing WPS (Wi-Fi Protected Setup) for a streamlined connection to your network. Refer to your router’s documentation for WPS instructions. The online manual provides detailed step-by-step guidance for both wired and wireless connections, ensuring a hassle-free setup experience.
Driver Installation for Windows
To install the Canon MX490 driver on Windows, begin by downloading the latest version from the official Canon website or using the included software CD. Run the downloaded executable file and follow the on-screen instructions. The installer will guide you through the process, typically requiring acceptance of the license agreement and selection of your preferred installation method – standard or custom.
A standard installation includes essential drivers and software, while a custom installation allows you to choose specific components. During installation, ensure the printer is connected to your computer via USB or is powered on and connected to your wireless network.
DriverHub and similar services can automate driver updates, but downloading directly from Canon ensures compatibility and security. After installation, restart your computer to complete the process and verify proper functionality.
Driver Installation for macOS
Installing the Canon MX490 driver on macOS is a straightforward process. Typically, macOS will automatically detect the printer when connected via USB and prompt you to download and install the necessary drivers. Alternatively, you can download the latest macOS driver package directly from the Canon support website.
Open the downloaded .dmg file and follow the on-screen instructions. The installer will guide you through the setup, requiring you to agree to the license agreement and potentially enter your administrator password. Ensure your Mac is connected to the internet during the installation process to facilitate automatic software updates.
For wireless setup, ensure the printer is connected to your Wi-Fi network before initiating the driver installation. After installation, add the printer through System Preferences > Printers & Scanners;
Wireless Network Setup (WPS)
The Canon MX490 supports Wi-Fi Protected Setup (WPS), offering a simplified wireless connection method. WPS allows you to connect the printer to your network without manually entering your Wi-Fi password. First, ensure your router supports WPS and is enabled. On the printer’s control panel, navigate to the wireless setup options – typically found within the network settings.
Select the WPS connection method (either Push Button or PIN method). If using the Push Button method, press the WPS button on your router within two minutes of selecting it on the printer. The printer will automatically connect to the network.
If your router requires a PIN, the printer will display a PIN code. Enter this PIN into your router’s WPS configuration interface. Successful connection will be indicated on the printer’s display.

Understanding the Control Panel
The Canon MX490 features an intuitive control panel designed for ease of use. The central component is a color LCD screen, displaying printer status, settings, and preview options. Below the screen are physical buttons for navigating menus and initiating functions like copy, scan, and print. A dedicated Home button provides quick access to primary settings.
The control panel allows you to configure network settings, adjust print quality, and manage paper sources. Using the directional buttons, you can scroll through menu options and select desired settings. The OK button confirms selections, while the Cancel button returns to the previous screen.
Familiarizing yourself with the control panel’s layout and functions is crucial for efficient printer operation and customization.

Basic Printing Operations
Initiating a print job with the Canon MX490 is straightforward. First, ensure the printer is powered on and connected to your computer. Open the document or image you wish to print from your application. Select “Print” from the File menu, and choose the Canon MX490 as your printer.
The print dialog box allows you to adjust settings like paper size, print quality, and the number of copies. Once settings are configured, click “Print” to begin. The printer will automatically pull paper and commence printing.
For optimal results, always verify the selected paper type matches the loaded paper. Regularly check ink levels to prevent faded prints. The MX490 supports borderless printing for photos, enhancing visual appeal;
Loading Paper Correctly
Proper paper loading is crucial for preventing jams and ensuring high-quality prints with your Canon MX490. Open the paper tray located at the front of the printer. Adjust the paper guides to match the width of the paper you’re using – ensuring a snug, but not overly tight, fit.
Fan the stack of paper before loading to separate the sheets and prevent multiple feeds. Load the paper with the printable side facing down. The paper tray has indicators for maximum paper capacity; do not exceed this limit.
For specialty papers like photo paper, use the designated paper cassette. Always ensure the paper is flat and aligned before initiating a print job. Incorrect loading can lead to skewed prints or paper jams.
Print Quality Settings
The Canon MX490 offers several print quality settings to optimize output for different needs. Access these settings through the printer driver on your computer. Options typically include “Draft,” “Standard,” and “High” quality. Draft mode is ideal for internal documents where speed is prioritized over appearance.
Standard mode provides a good balance between speed and quality for everyday printing. High quality is best for photos and documents requiring sharp text and vibrant colors. You can also adjust settings like color intensity and paper type within the driver.
Experiment with these settings to achieve the desired results. Remember that higher quality settings consume more ink and may take longer to print. Consider using appropriate paper for optimal print quality.

Scanning Documents and Photos
The Canon MX490 excels at scanning, offering versatility for documents and photos. Initiate a scan using the control panel or through the Canon software on your computer. Ensure your original is placed face down on the scanner glass. Select the appropriate scan settings based on your needs – color or black and white, resolution (DPI), and file type.
The MX490 allows you to scan directly to your computer, or save scans as searchable PDFs or image files like JPEG. Utilizing the scan-to-PDF function is particularly useful for archiving documents. For photos, a higher DPI setting will capture more detail, resulting in a larger file size.
Explore the software options for advanced features like automatic document feeding and image correction.
Scanning to PDF
Scanning to PDF with the Canon MX490 is straightforward and ideal for document archiving and sharing. From the scanner settings, select “PDF” as your file type. You can choose between a standard PDF or a searchable PDF, which allows you to copy and paste text from the scanned document. The searchable PDF option utilizes Optical Character Recognition (OCR) technology.
Adjust the resolution to balance file size and image quality; 300 DPI is generally sufficient for text documents, while 600 DPI is recommended for images or documents with fine details. The MX490 software often provides options for multi-page PDF creation, automatically combining multiple scanned pages into a single document.
Ensure the “Create searchable PDF” option is enabled if text recognition is desired.
Scanning to JPEG
The Canon MX490 simplifies scanning photos and images directly to JPEG format for easy sharing and editing. Within the scanner settings, select “JPEG” as your desired file type. This format is excellent for preserving color and detail in photographic images, though it results in some compression. Adjust the scanning resolution to control image quality and file size; higher resolutions (600 DPI or greater) are recommended for prints or detailed enlargements.
Lower resolutions (300 DPI) are suitable for online sharing or smaller prints. The MX490 allows you to preview the scanned image before saving, ensuring satisfactory results. You can also adjust color settings, such as brightness and contrast, to optimize the scanned image.
Remember that JPEG is a lossy compression format, so repeated saving can degrade image quality.
Copying Functionality
The Canon MX490 offers convenient copying functionality directly from the control panel. Simply place the document you wish to copy on the scanner glass, and select the “Copy” function. You can adjust copy settings such as darkness, copy size, and the number of copies needed. The MX490 supports both black and white, as well as color copying.
Utilize features like “Two-Sided Copying” to save paper, if your original document allows. The printer allows for multiple copies to be created quickly and efficiently. Previewing the copy before finalizing is also possible, ensuring the desired outcome. Adjusting the quality settings impacts the speed and clarity of the copied document.
For best results, ensure the original document is flat and free of obstructions.
LPR and DRX Settings Configuration
The Canon MX490 utilizes LPR (Line Printer Daemon) and DRX (Direct Remote eXecution) settings for network printing, enabling communication with various operating systems and devices. These settings are typically configured through the printer’s web interface, accessible via a web browser using the printer’s IP address.
To configure LPR/DRX, ensure both LPR and DRX are “Active” within the printer’s network settings. The last six digits of the MAC address are often required during setup. These protocols facilitate print jobs sent directly to the printer without relying on complex print management software.
Proper configuration ensures seamless printing from computers and other network-connected devices. Canon notes that configuration files may become unavailable five years after product discontinuation, emphasizing the importance of documenting these settings. Refer to the online manual for detailed instructions and troubleshooting.
Troubleshooting Common Issues
The Canon MX490, like any printer, can encounter issues. Paper jams are frequent; ensure correct paper loading and avoid using damaged or unsuitable paper types. Carefully remove jammed paper, following the instructions in the manual to prevent further complications.
Connectivity problems can arise during wireless setup. Verify the printer is within range of the router and that the correct network credentials are entered. Confirm WPS is enabled on both devices if using that method. Check the printer’s IP address and ensure it’s not conflicting with another device.
If issues persist, consult the online manual or Canon’s support resources. Remember that configuration files may become unavailable after product discontinuation, so documenting solutions is advisable.
Paper Jams
Paper jams within the Canon MX490 are a common issue, often stemming from incorrect paper loading or using damaged media. Always ensure paper is properly aligned in the tray and isn’t overfilled. Avoid using wrinkled, damp, or excessively thin paper.

If a jam occurs, immediately power off the printer before attempting removal. Gently pull the jammed paper in the direction of the paper path, avoiding tearing. Inspect all accessible areas – the paper tray, rear access panel, and inside the printer – for remaining fragments.
Refer to the detailed diagrams in the Canon MX490 manual for specific jam locations and removal procedures. Failure to remove all paper pieces can lead to recurring jams and potential printer damage. Proper paper handling prevents most jams.
Connectivity Problems
Connectivity issues with your Canon MX490 can arise from several sources, including Wi-Fi signal strength, incorrect network settings, or outdated drivers. First, verify the printer is within range of your wireless router and that the Wi-Fi network is functioning correctly.
Ensure the correct network name (SSID) and password are entered during setup. For WPS connections, confirm WPS is enabled on both the printer and router. If using a USB connection, try a different cable and USB port.
Reinstalling the latest drivers from the Canon website often resolves software-related connectivity problems. Check the Canon support site for troubleshooting guides and firmware updates. A weak signal or driver conflicts are common causes, so address those first.
Canon MX490 Specifications
The Canon MX490 is a versatile all-in-one printer boasting impressive specifications. It features a maximum print resolution of 4800 x 1200 dpi, delivering sharp and detailed prints. Print speeds reach up to 8.8 images per minute (ipm) for black and white and 5.0 ipm for color documents.
This model supports standard paper sizes, including A4, Letter, and Legal. It has a 100-sheet paper capacity in the rear tray. The MX490 offers automatic duplex printing, saving paper and reducing costs. Its flatbed scanner supports scanning resolutions up to 1200 x 2400 dpi.
Connectivity options include USB 2.0 and Wi-Fi 802.11 b/g/n. The printer is compatible with Windows and macOS operating systems. It also features a color LCD display for easy navigation and control.
Accessing the Online Manual
Canon provides a comprehensive online manual for the MX490 series, offering readily available support and detailed instructions. While downloadable setup files may become unavailable after product discontinuation – typically five years – the online manual remains a valuable resource for users.
To access the online manual, navigate to the official Canon website and search for “MX490 manual” or “PIXMA MX490 support.” The online version mirrors the printed manual, covering all aspects of printer operation, from initial setup and driver installation to troubleshooting common issues.
Users can easily search for specific topics or browse through the table of contents. Canon reserves the right to modify or remove content from the online manual, ensuring it remains current and relevant. This digital resource offers convenient, 24/7 access to essential product information.