Guide Coat Spray: A Comprehensive Guide
Guide coat spray is a crucial tool for achieving flawless finishes, utilizing spray technology for uniform application and defect highlighting in various coating processes․
What is Guide Coat Spray?
Guide coat spray is a thin, temporary coating applied to a surface before priming or painting, acting as a visual aid during the bodywork and paint preparation stages․ It’s fundamentally about breaking down liquids into droplets for even coverage․ Typically a contrasting color – often grey or black – it highlights imperfections like low spots, scratches, and uneven surfaces that are otherwise difficult to detect with the naked eye․
This spray isn’t a final finish; it’s a diagnostic tool, enabling technicians to identify areas needing further sanding or repair before applying the final coats․ It’s a key component in achieving professional-quality results․
The Purpose of Using Guide Coat
The primary purpose of guide coat spray is to reveal surface imperfections that would otherwise be invisible, ensuring a perfectly smooth and level foundation for subsequent paint layers․ It dramatically improves the quality of automotive body repair and paint preparation․ By highlighting low spots and inconsistencies, it guides the repair process, minimizing wasted effort and material․
Essentially, it’s a visual inspection method, allowing for precise sanding and filling, ultimately leading to a superior, long-lasting finish and enhanced corrosion resistance․
Types of Guide Coat Sprays Available
Guide coat sprays broadly fall into two categories: water-based and solvent-based, each offering distinct advantages․ Water-based options are generally easier to clean up and environmentally friendlier, while solvent-based guide coats provide superior adhesion and durability, particularly on challenging surfaces․
Furthermore, application methods vary; you can choose between traditional spray application and convenient aerosol cans․ Aerosols offer portability and ease of use, while traditional sprays allow for greater control and customization․
Water-Based Guide Coats
Water-based guide coats represent an eco-conscious choice, utilizing water as the primary carrier for pigments․ These formulations are favored for their low odor and simplified cleanup with just soap and water, minimizing solvent exposure․ They are generally suitable for topcoats and offer good visibility of surface imperfections;
However, water-based options might require longer drying times and may not adhere as strongly to certain substrates compared to solvent-based alternatives, demanding careful surface preparation․
Solvent-Based Guide Coats
Solvent-based guide coats utilize solvents as the carrier for pigments, offering rapid drying times and excellent adhesion to a wide range of surfaces․ They are particularly effective when working with solvent-based paints and clear coats, ensuring compatibility throughout the finishing process․
However, these formulations typically have stronger odors and require proper ventilation, alongside careful handling due to the presence of volatile organic compounds (VOCs)․ Cleanup necessitates specific solvents․
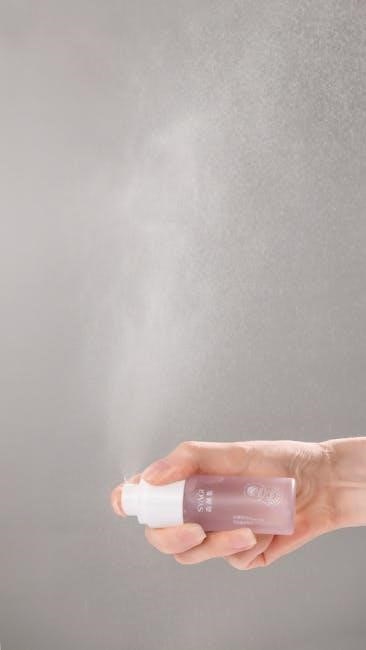
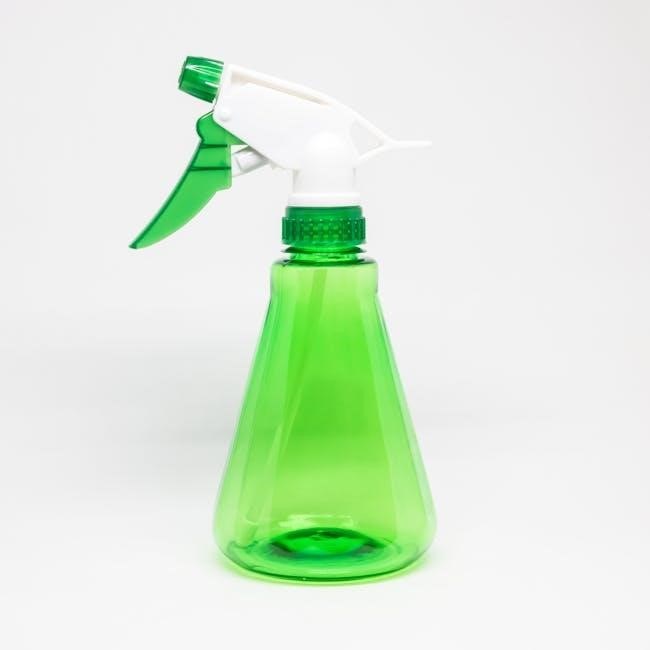
Aerosol vs․ Traditional Spray Application
Aerosol guide coat sprays offer convenience and portability, requiring minimal equipment – simply shake and spray! They’re ideal for small repairs or touch-ups, providing consistent application with built-in mixing․ However, they offer less control over fan pattern and material flow․

Traditional spray application, using a spray gun, allows for greater adjustability and is more economical for larger areas, though it demands more skill and setup․
Surface Preparation for Guide Coat Application
Proper surface preparation is paramount for accurate guide coat results․ Begin with thorough cleaning to remove contaminants like grease, wax, and silicone – these can repel the coat and obscure defects․ Following cleaning, sanding and repairing imperfections are essential․
Address any low spots, scratches, or unevenness before application․ Spot sanding wavy gelcoat before primer is also recommended for optimal smoothness and defect visibility․
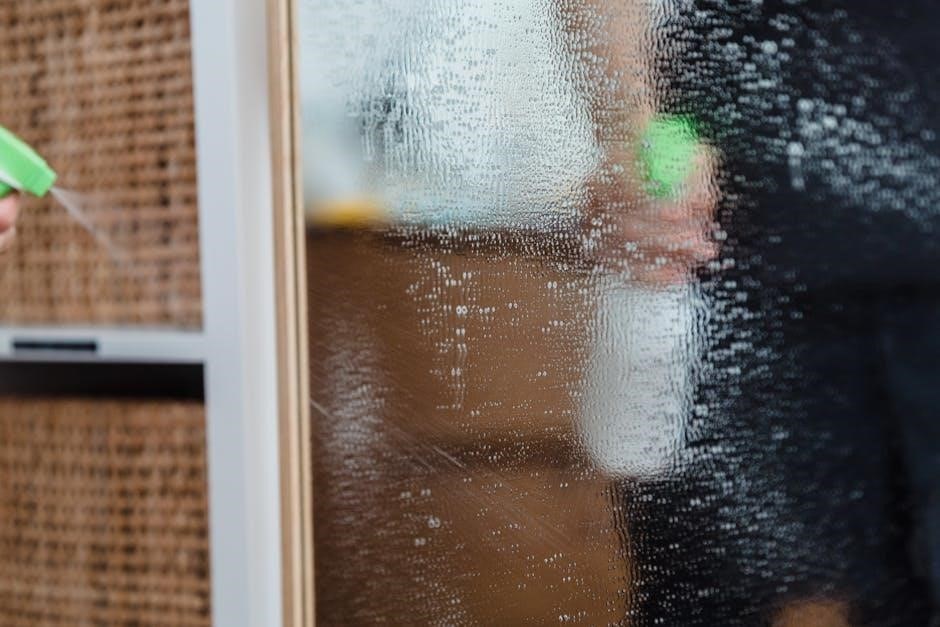
Cleaning the Surface
Effective cleaning is the foundational step for guide coat success․ Remove all traces of contaminants – grease, wax, silicone, dust, and polishing compounds – as these interfere with adhesion and defect detection․ Utilize a wax and grease remover, followed by a tack cloth to ensure a pristine surface․
Thorough cleaning guarantees the guide coat adheres uniformly, accurately revealing imperfections in the underlying substrate and preventing false readings during inspection․
Sanding and Repairing Imperfections
Prior to guide coat application, address any surface imperfections․ Sand down high spots and fill low areas with body filler, ensuring a smooth, even profile․ Feather the edges of repairs meticulously to blend seamlessly with the surrounding surface․
Spot sanding wavy gelcoat before primer is also beneficial․ Proper preparation maximizes the guide coat’s ability to accurately highlight remaining flaws, leading to a superior final finish․
Application Techniques for Optimal Results
Achieving optimal results with guide coat spray hinges on precise application․ Utilize appropriate spray gun settings, adjusting fluid and air pressure for a consistent pattern․ Maintain a consistent spray distance and overlap each pass by approximately 50% to avoid striping or uneven coverage․
The number of coats needed varies, but a light, even film is generally sufficient for defect identification․
Spray Gun Settings
Optimal spray gun settings are paramount for successful guide coat application․ Begin with a fluid tip size appropriate for the spray’s viscosity – typically between 1․8mm and 2․2mm․ Air pressure should be set to a moderate level, around 20-30 PSI, to prevent excessive atomization or sputtering․
Adjust settings based on the gun manufacturer’s recommendations and environmental conditions, ensuring a fine, even spray pattern․
Spray Distance and Overlap
Maintaining consistent spray distance is vital; generally, 6-8 inches from the surface yields the best results․ This ensures adequate material transfer without excessive build-up or dry spray․ Employ a 50-60% overlap with each spray pass to avoid striping and ensure uniform coverage․
Consistent speed and distance create a smooth, even coat, crucial for accurate defect identification․ Practice proper technique for optimal outcomes․
Number of Coats Required
Typically, one to two light coats of guide coat spray are sufficient for revealing surface imperfections․ Avoid heavy application, as it can obscure defects and complicate the inspection process․ Allow each coat to dry completely before applying the next, ensuring proper visibility․
The ideal number depends on the surface color and the severity of anticipated flaws; darker surfaces may require additional coats for contrast․
Identifying Defects with Guide Coat
Guide coat spray excels at visually highlighting imperfections in surfaces prepared for painting or coating․ It reveals low spots, pinholes, scratches, and unevenness that are otherwise difficult to detect with the naked eye․ The contrasting color emphasizes these flaws, allowing for precise correction before applying the final finish․
This ensures a smooth, professional result by pinpointing areas needing further bodywork or sanding․
Highlighting Low Spots
Guide coat spray dramatically reveals low spots on a prepared surface, appearing as darker areas where the spray accumulates․ These depressions, often missed during initial inspection, prevent proper adhesion and create an uneven final coat․ The contrasting color makes these imperfections immediately visible, guiding necessary sanding or filling․
Correcting these low areas is vital for a flawless, durable finish, ensuring uniform paint thickness and preventing future issues like corrosion․
Revealing Imperfections in Bodywork
Guide coat spray excels at exposing subtle imperfections in automotive bodywork, such as pinholes, waves, or uneven filler application․ The spray highlights these flaws by creating a contrasting visual cue, making them readily apparent to the technician․ Areas needing further attention appear darker, indicating insufficient material or improper shaping․
This process ensures a perfectly smooth surface before paint application, crucial for a professional, high-quality repair․
Guide Coat in Automotive Body Repair
Guide coat spray is indispensable in automotive body repair, serving as a visual indicator throughout the process․ After body filler application and sanding, it reveals low spots and imperfections needing correction․ Technicians utilize it to confirm surface uniformity before priming and painting, ensuring a flawless final result․
It’s a critical step for achieving professional-grade repairs, maximizing paint adhesion and overall finish quality, and minimizing rework․

Guide Coat in Paint Preparation
Guide coat spray plays a vital role in paint preparation, assisting in evaluating surface readiness for optimal adhesion․ It helps identify any remaining imperfections after sanding, ensuring a smooth base for subsequent coats․ Proper paint preparation, including mixing and thinning, is crucial for a durable and aesthetically pleasing finish․
Techniques utilizing brushes, rollers, and spray guns benefit from guide coat inspection, guaranteeing consistent coverage and a high-quality paint job․
Mixing and Thinning Paints
Guide coat application verifies the effectiveness of paint mixing and thinning processes․ Proper viscosity is paramount for even coating, and the guide coat reveals inconsistencies caused by incorrect ratios․ Observing how the guide coat lays over the prepared paint mixture indicates whether further adjustments are needed to achieve optimal flow and leveling․

This ensures a uniform base, maximizing the final finish’s quality and durability, preventing issues like runs or dry spray․
Brush, Roller, and Spray Gun Techniques

Applying guide coat demands technique adjustments based on the tool․ Brushing requires even strokes to avoid texture influencing defect visibility․ Rolling necessitates consistent pressure for uniform coverage․ Spray guns, however, offer the most control, enabling thin, even coats crucial for accurate defect detection․
Regardless of method, a light application is key; excessive material obscures imperfections․ Mastering these techniques ensures the guide coat effectively highlights surface flaws․
Guide Coat and Corrosion Resistance
While guide coat itself doesn’t directly enhance corrosion resistance, its application is vital during processes that do․ Proper surface preparation revealed by guide coat – ensuring complete imperfection removal – is fundamental to durable coatings․
Systems like Delta Protekt, featuring hardened base and top coats, demonstrate over 1,000 hours of salt spray resistance․ Guide coat aids in verifying coating integrity before corrosion protection is finalized․
Safety Precautions When Using Guide Coat Spray
Prioritize safety when applying guide coat spray․ Adequate ventilation is paramount, as many formulations contain solvents; respiratory protection, such as a respirator, is strongly recommended to avoid inhaling fumes․
Direct skin and eye protection – gloves and goggles – are essential to prevent irritation․ Always review the Safety Data Sheet (SDS) for the specific product being used, understanding potential hazards and recommended handling procedures for a safe application․

Ventilation and Respiratory Protection
Effective ventilation is non-negotiable when working with guide coat sprays, as they often release volatile organic compounds (VOCs)․ Work in a well-ventilated area, ideally with exhaust fans directing fumes outdoors․
Respiratory protection, such as a NIOSH-approved respirator with appropriate filters, is crucial to prevent inhalation of harmful particles and solvents, safeguarding your respiratory health during application and drying processes․
Skin and Eye Protection
Direct skin contact with guide coat spray should be strictly avoided․ Wear appropriate protective clothing, including gloves (nitrile or neoprene are recommended) and a long-sleeved shirt, to prevent irritation or absorption of chemicals․
Eye protection is paramount; always wear safety glasses or a face shield to shield your eyes from splashes or overspray․ In case of contact, flush eyes immediately with plenty of water and seek medical attention․
Guide Coat vs․ Other Surface Inspection Methods
Compared to traditional methods like visual inspection under bright lights, guide coat spray offers a distinct advantage by highlighting even subtle imperfections․ While techniques such as using feeler gauges can detect low spots, they are time-consuming․
Guide coat provides a quick, comprehensive overview of surface flaws, revealing inconsistencies in bodywork and paint preparation more effectively than relying solely on tactile assessment or specialized lighting setups․
Troubleshooting Common Issues with Guide Coat
Uneven application of guide coat can obscure defects; ensure proper spray gun settings, distance, and overlap are maintained for consistent coverage․ Difficulty seeing defects may arise from insufficient contrast – applying a different color guide coat or ensuring adequate lighting can resolve this․
If the gelcoat is too wavy, spot sanding before applying primer is recommended․ Addressing these issues guarantees accurate flaw detection and optimal surface preparation for subsequent coating layers․
Uneven Application
Uneven guide coat application significantly hinders defect identification, creating false positives or masking genuine imperfections․ This often stems from inconsistent spray gun settings – air pressure, fluid flow, and fan pattern require precise calibration; Maintaining a consistent spray distance and overlap is equally vital for uniform coverage․
Insufficient material or rapid passes can lead to thin spots, while excessive application causes runs and drips, both compromising accuracy․ Careful technique is paramount․

Difficulty Seeing Defects
Difficulty seeing defects with guide coat can arise from several factors, including insufficient contrast between the coat and the substrate․ Proper lighting is crucial; bright, diffused light reveals imperfections more effectively than harsh, direct illumination․ A thin, even coat is essential – too thick obscures details․
Surface contamination, like silicone or wax, can repel the guide coat, hindering adhesion and visibility․ Ensure thorough surface preparation before application for optimal results․