Skytech Remote Manual: A Comprehensive Guide
Welcome! This guide details Skytech remote operation, encompassing setup, troubleshooting, and advanced features for optimal device control and user experience.
Skytech remotes are designed to provide seamless control over your entertainment systems, offering a user-friendly experience with a wide range of compatibility. These remotes aim to simplify operation of televisions, DVD players, streaming devices, and more, consolidating multiple remotes into one convenient unit.

Understanding the core functionality of your Skytech remote is key to unlocking its full potential. Whether you’re a first-time user or looking to explore advanced features, this manual will guide you through the setup process, code programming, and troubleshooting steps. Skytech remotes often support both automatic code search and direct code input methods, catering to diverse user preferences and device types.
This manual covers various Skytech remote models, providing specific instructions where applicable. Remember to identify your remote model for the most accurate guidance.
Understanding the Basic Functions
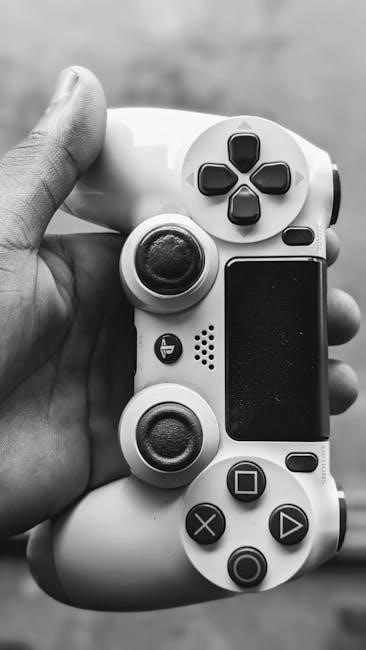
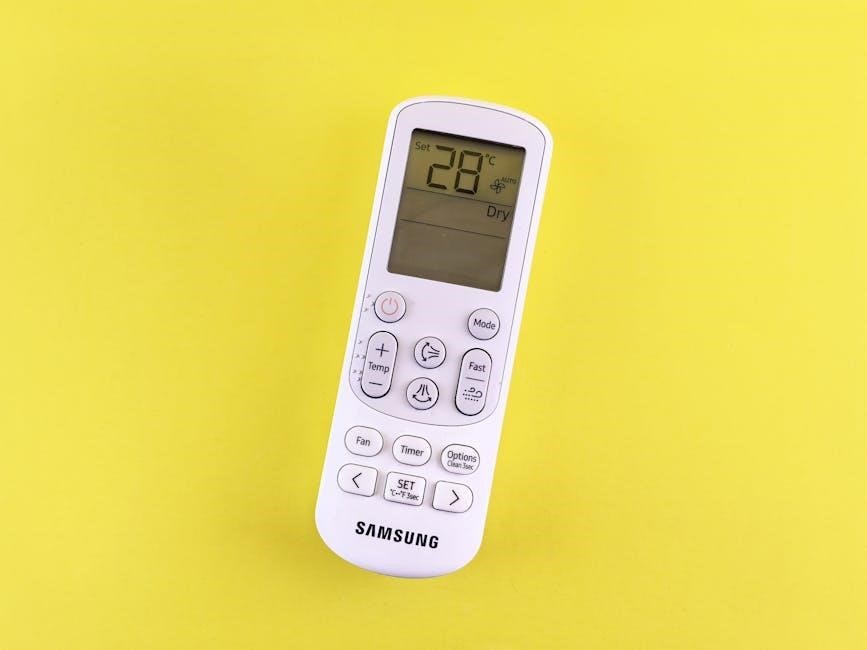
Essential buttons on your Skytech remote include the power button for device on/off, volume controls for audio adjustment, and channel navigation keys for switching between channels. The mute button silences the audio output, while the menu button accesses the device’s on-screen settings.
Numeric keypad allows for direct channel entry, and dedicated input selection buttons enable switching between connected devices like HDMI 1, HDMI 2, or AV. Many Skytech remotes also feature playback controls – play, pause, stop, fast forward, and rewind – for media playback. Familiarizing yourself with these core functions is the first step to mastering your remote.
The remote’s layout is generally intuitive, grouping related functions together for easy access. Proper battery installation is crucial for optimal performance, ensuring a strong signal transmission.
Powering On and Off
The primary function of your Skytech remote is controlling power. Pressing the designated “Power” button typically activates or deactivates the connected device – television, set-top box, or DVD player. Some remotes require a brief press and release, while others may need a slightly longer hold for reliable operation.
Ensure the remote is pointed directly at the device’s infrared (IR) receiver for optimal signal transmission. If the device doesn’t respond, check the batteries and ensure there are no obstructions blocking the IR signal. A flashing light on the remote often indicates a signal is being sent.
Certain Skytech remotes can power on multiple devices simultaneously with a single press, streamlining your entertainment setup. Always confirm the device is fully powered off when not in use to conserve energy.
Volume Control and Mute
Adjusting the audio level is straightforward with your Skytech remote. Dedicated “Volume Up” and “Volume Down” buttons allow for precise control. Repeated presses incrementally increase or decrease the sound output of your connected device. Some models feature a volume slider for quicker adjustments.
The “Mute” button instantly silences the audio, providing a convenient way to temporarily eliminate sound. Pressing “Mute” again restores the previous volume level; Ensure the remote’s signal reaches the device’s IR receiver for responsive volume control.
Certain Skytech remotes offer advanced audio settings, accessible through the menu, allowing customization of sound modes and equalization. Experiment with these settings to optimize your listening experience.
Channel Navigation
Effortlessly switch between channels using the dedicated number buttons (0-9) on your Skytech remote. Directly input the desired channel number for instant access. The “CH+” and “CH-” buttons allow sequential channel browsing, moving up or down the channel list.
Many Skytech remotes include a “Channel List” or “Guide” button, providing on-screen access to a comprehensive channel lineup. Utilize this feature to explore available channels and discover new content. Some models support favorite channel programming for quick access.
For devices with digital television services, a “Source” or “Input” button may be present, enabling switching between different input sources like TV, DVD, or cable box.
Menu Access and Control
Accessing the on-screen menu is typically achieved by pressing the “Menu” button on your Skytech remote. This unlocks a range of settings and customization options for your connected device, such as picture adjustments, sound preferences, and system configurations.

Navigation within the menu is primarily controlled using the directional arrow keys (up, down, left, right). Use these keys to highlight desired menu items and options. The “OK” or “Enter” button confirms your selection, while the “Back” or “Exit” button returns you to the previous menu or live TV.
Explore settings carefully to personalize your viewing experience. Remember to save any changes made before exiting the menu.
Programming Your Skytech Remote
Programming your Skytech remote allows it to control devices beyond your primary television, like DVD players or sound systems. Two primary methods exist: automatic code search and direct code input. The automatic search systematically tests codes until your device responds, requiring you to confirm successful operation.
Direct code input involves finding the specific code for your device’s brand from the included code list and manually entering it using the number keys. Ensure your device is powered on during programming. Holding the “Power” button for an extended period often initiates the programming mode.
Refer to the code table for accurate codes and follow the on-screen prompts carefully.
Automatic Code Search Method
Initiating the automatic code search typically begins by powering on the device you wish to control manually. Then, enter the programming mode on your Skytech remote – often achieved by pressing and holding the “Setup” or “Magic” button until an indicator light activates. The remote will then begin cycling through pre-programmed codes.
As each code is tested, observe your device for a response, such as a volume change or channel switch. Once a response occurs, immediately press a designated “Enter” or “OK” button to lock in that code. If no response is detected after a prolonged search, repeat the process, ensuring correct device power and remote alignment.
This method is ideal when the specific code isn’t readily available.

Direct Code Input Method
For direct code input, first, locate the code list specific to your TV brand within the Skytech remote manual or online resources. Once found, enter programming mode – usually by holding the “Setup” or “Magic” button until the indicator light illuminates. Then, using the number buttons on the remote, carefully input the five-digit code corresponding to your TV manufacturer.
After entering the code, the remote will attempt to communicate with your device. If successful, the indicator light may blink or turn off, confirming code acceptance. Test functionality by attempting basic operations like volume control or channel changing. If unsuccessful, double-check the code’s accuracy and repeat the process, or revert to the automatic search method.
Troubleshooting Common Issues
Encountering problems? Several common issues can arise with Skytech remotes. If the remote isn’t responding, first ensure fresh batteries are correctly installed, checking polarity. An incorrect code entry is another frequent cause; re-initiate the code search or direct code input process, verifying the code’s accuracy against the provided list.
If issues persist, confirm there are no obstructions between the remote and your device’s IR sensor. Try resetting the remote to factory settings (consult your model’s specific instructions). For unresponsive devices, manually power cycle the TV or device. If none of these steps resolve the problem, consider contacting Skytech support for further assistance or exploring replacement options.
Remote Not Responding
Is your Skytech remote failing to communicate? The most common culprit is depleted or incorrectly installed batteries. Begin by replacing the batteries with fresh ones, ensuring correct polarity (+ and -). Next, verify there’s a clear line of sight between the remote and your device’s infrared (IR) sensor – obstructions can block the signal.
Try moving closer to the device. If the issue continues, attempt a reset of the remote, though procedures vary by model. Confirm the device itself is powered on and responsive to its physical buttons. A temporary glitch in the device might be the cause. Finally, rule out interference from other electronic devices emitting IR signals.
Incorrect Code Entered
Experiencing functionality issues after code entry? An incorrect code is a frequent cause of remote malfunction. If your Skytech remote isn’t controlling your device properly after programming, don’t panic! Begin by re-entering the code carefully, double-checking each digit against the code list for your device’s brand.
If the initial code doesn’t work, consult the code table again and try alternative codes listed for your specific device type (TV, DVD, etc.). Utilize the automatic code search method as a backup if manual entry repeatedly fails. Remember to point the remote directly at the device during the code search process for optimal results.
Battery Replacement and Maintenance
Maintaining optimal battery health is crucial for consistent Skytech remote performance. Always use the correct battery type – typically AAA or AA, as indicated inside the battery compartment. When installing batteries, ensure proper polarity (+ and -) alignment. Replace batteries simultaneously to prevent potential damage from mismatched voltage levels.
To prolong battery life, avoid extreme temperatures and humidity. Store the remote in a cool, dry place when not in use. Regularly clean the battery contacts with a dry cloth to remove any corrosion. If the remote will be unused for an extended period, remove the batteries to prevent leakage and potential damage to the device.
Battery Type and Installation
Skytech remotes generally require either AAA or AA alkaline batteries for reliable operation. Do not mix old and new batteries, or different battery types (e.g., alkaline and rechargeable). Locate the battery compartment, usually on the back of the remote, and gently slide open the cover. Observe the polarity markings (+ and -) inside the compartment.
Insert the batteries, ensuring the positive (+) and negative (-) ends align with the corresponding markings. Replace all batteries at the same time for optimal performance. Once the batteries are installed, securely close the battery compartment cover. If the remote doesn’t power on, double-check the battery installation and ensure fresh batteries are used.
Cleaning and Storage
To maintain your Skytech remote’s longevity, regular cleaning is recommended. Always disconnect batteries before cleaning. Use a soft, dry cloth to wipe the remote’s exterior. For stubborn dirt, lightly dampen the cloth with water, but avoid getting moisture into any openings. Do not use abrasive cleaners, solvents, or liquids, as these can damage the remote’s surface and internal components.
When storing the remote for extended periods, remove the batteries to prevent corrosion and potential damage. Store the remote in a cool, dry place, away from direct sunlight and extreme temperatures. Avoid placing heavy objects on top of the remote, as this could cause physical damage. Proper cleaning and storage will ensure your Skytech remote remains in optimal working condition.
Advanced Features (If Applicable)
Certain Skytech remote models offer enhanced functionality beyond basic control. Macro programming allows users to combine multiple commands into a single button press, streamlining complex operations. This feature, if available, is typically configured through a specific button sequence detailed in your model’s specific instructions.
Universal compatibility is another potential advanced feature, enabling control of various devices beyond the initially paired one. This often requires accessing a code list and entering the appropriate code for your device type. Check your remote’s documentation to determine if these features are supported and how to activate them. Explore these capabilities to maximize your Skytech remote’s potential and convenience.
Macro Programming
Macro programming on select Skytech remotes allows you to record and replay a sequence of button presses with a single command. This is exceptionally useful for automating complex tasks, like switching inputs, adjusting volume, and powering on multiple devices simultaneously. Typically, initiating macro recording involves pressing and holding a designated “Macro” or “Setup” button.
Follow the on-screen prompts or consult your specific model’s instructions to input the desired button sequence. Once recorded, assign the macro to an available button. Remember to save the macro to ensure it’s retained. Macro functionality varies significantly between models; some may offer limited recording time or a restricted number of programmable macros. Experiment to discover the full potential of this powerful feature!
Universal Compatibility
Skytech remotes are designed with broad universal compatibility in mind, aiming to control a wide array of devices beyond just your television. This includes DVD players, Blu-ray players, sound systems, and even some streaming media devices. Achieving compatibility often relies on utilizing the remote’s code search or direct code input methods, detailed elsewhere in this manual.
Successful operation depends on finding the correct code corresponding to your device’s brand and model. While Skytech strives for extensive code libraries, some newer or less common devices may not be directly supported. In such cases, attempting a similar brand code or exploring online resources may yield a functional solution. Regularly updated code lists are often available on the Skytech website.
Skytech Remote Model Variations
Skytech offers a diverse range of remote control models, each tailored to specific needs and device compatibility levels. Variations exist in button layout, feature sets – such as macro programming capabilities – and supported connection types (infrared or radio frequency). Identifying your specific model is crucial for accessing the correct instructions and support resources.
Model numbers are typically located on the back of the remote, often near the battery compartment. These numbers are essential when searching for dedicated support pages or downloading specific programming codes. Skytech categorizes remotes based on their functionality; some are basic universal remotes, while others are advanced, learning remotes capable of mimicking multiple original remotes. Refer to the linked sections for detailed instructions pertaining to your particular Skytech remote model.
Identifying Your Remote Model
Locating your Skytech remote’s model number is the first step towards accessing tailored support and programming instructions. The model number is generally printed on a sticker located within the battery compartment, or on the back of the remote housing itself. It’s usually a combination of letters and numbers – for example, “SR-2000” or “URC-Skytech123”.
Carefully examine the remote’s casing; sometimes the number is subtly placed. Once you’ve found the model number, you can use it to navigate to specific instructions within this manual, or on the Skytech support website. Accurate identification ensures you’re using the correct codes and procedures for your remote, maximizing compatibility and functionality. Without the correct model number, troubleshooting and programming can be significantly more difficult.
Specific Model Instructions (Link to separate pages/sections)
To provide comprehensive support for the diverse range of Skytech remotes, detailed instructions for each model are available through dedicated pages. Below are links to specific model guides, offering step-by-step programming, troubleshooting, and feature explanations tailored to your device. Please select your remote model from the list below to access the corresponding documentation.
[Link to SR-2000 Instructions] | [Link to URC-Skytech123 Instructions] | [Link to Skytech Pro 500 Instructions] | [Link to Skytech Universal 900 Instructions]. If your model isn’t listed, please use the search bar or contact Skytech customer support for assistance. These dedicated pages will ensure a smooth and efficient setup experience, maximizing your remote’s capabilities.