Toastmaster Waffle Maker Instructions: A Comprehensive Guide
Welcome! This guide provides detailed instructions for your Toastmaster waffle maker, ensuring delicious results. It covers everything from initial setup
to cleaning, maximizing your breakfast experience. Enjoy perfectly cooked waffles!
Congratulations on choosing a Toastmaster waffle maker! This appliance is designed to bring the delightful experience of homemade waffles directly to your kitchen. Whether you’re a seasoned breakfast enthusiast or a first-time waffle creator, this guide will equip you with the knowledge to operate your waffle maker safely and efficiently.
Toastmaster has a long-standing reputation for producing reliable and user-friendly kitchen appliances. Your new waffle maker is no exception, offering a simple yet effective way to create golden-brown, perfectly textured waffles. Before diving into the delicious possibilities, it’s crucial to familiarize yourself with the appliance’s features and safety precautions.
This comprehensive guide will walk you through each step, from unboxing and preparation to cleaning and troubleshooting. We’ll cover essential aspects like conditioning the grids, understanding indicator lights, and even provide some tempting waffle batter recipes to get you started. Get ready to elevate your breakfast game!
Unboxing and Component Identification
Carefully unpack your Toastmaster waffle maker and verify that all components are present. The box should contain the waffle maker unit itself, the instruction manual (this guide!), and potentially a recipe booklet. Inspect each item for any signs of damage that may have occurred during shipping. If you notice any damage, contact the retailer immediately.
The waffle maker consists of several key parts. You’ll find the top and bottom cooking plates (grids), which create the waffle’s signature pattern. Locate the housing, which contains the heating elements and controls. Identify the indicator lights – these will signal when the waffle maker is heating up and ready to cook.
Familiarize yourself with the power cord and ensure it’s in good condition. Some models may include additional features like adjustable browning controls or removable drip trays. Refer to the diagrams in this manual to accurately identify each component before proceeding to the preparation stage.
Before First Use: Essential Preparation
Prior to your inaugural waffle-making experience, thorough preparation is crucial. Begin by removing all packaging materials, including any stickers or protective films from the cooking plates. Wipe the cooking surface with a damp cloth and dry it completely – this removes any residual manufacturing residue. Do not immerse the waffle maker in water or any other liquid.
Ensure your countertop is clean, dry, and heat-resistant. Solid surface countertops can be susceptible to damage from heat, so always use a trivet to protect them. Place the waffle maker on a stable, level surface away from flammable materials. Verify the power cord is undamaged and accessible.
This initial cleaning and placement will ensure optimal performance and longevity of your Toastmaster waffle maker. It’s a simple step that contributes significantly to a safe and enjoyable cooking process.
Conditioning the Grids for Optimal Performance
To guarantee consistently golden and perfectly textured waffles, conditioning the grids is a vital, yet often overlooked, step. After the initial cleaning, lightly coat the cooking surface with a neutral-flavored oil, such as vegetable or canola oil. A small amount is sufficient; avoid saturating the grids.
Plug in the waffle maker and allow it to heat up as if you were making waffles. Once heated, let it run for approximately five minutes. This process helps to create a non-stick barrier and seals the grids, enhancing their performance. The grid surface being sealed will prevent sticking and ensure easy waffle removal.
After the conditioning cycle, unplug the waffle maker and allow it to cool completely. Wipe away any excess oil with a clean, dry cloth. Your Toastmaster waffle maker is now optimally prepared for creating delicious waffles!

Operating Instructions: Step-by-Step Guide
Begin by ensuring the waffle maker is placed on a stable, heat-resistant surface. Plug the appliance into a grounded electrical outlet. Preheat the waffle maker; the indicator light will illuminate, signaling it’s heating up.
Once preheated, the indicator light will typically change, indicating readiness. Carefully lift the lid and pour the appropriate amount of batter onto the lower grid, avoiding overfilling. Close the lid gently but firmly. Do not force it shut.
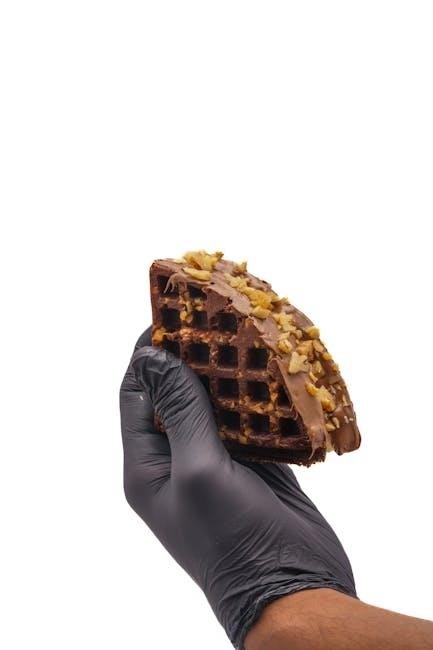
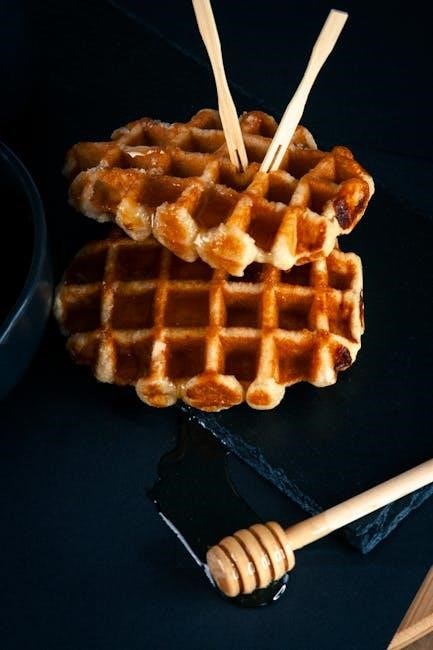
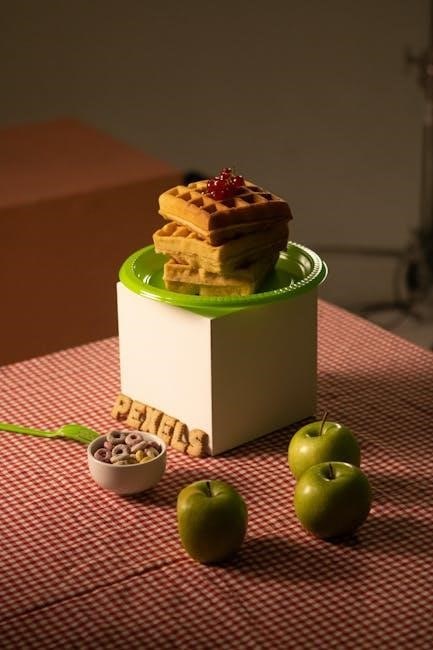
Cooking time varies depending on your desired level of crispness, but generally ranges from 3 to 5 minutes. Monitor the waffle’s progress. When the indicator light signals completion, or the waffle appears golden brown, carefully remove it with a non-metallic utensil. Enjoy immediately!

Understanding the Indicator Lights
Your Toastmaster waffle maker utilizes indicator lights to communicate its operational status. Typically, a solid red light signifies the unit is preheating. This phase allows the grids to reach the optimal temperature for perfect waffle creation.
Once the desired temperature is achieved, the red light will often change to green, or may simply turn off, indicating readiness for batter. This signals you can begin cooking! Avoid opening the lid prematurely during the preheating phase, as this will extend the heating time.
Some models may feature a separate light to indicate power is on. Pay attention to these cues; they are essential for safe and efficient waffle making. If a light malfunctions, discontinue use and consult the warranty information.
Waffle Batter Recipes: Classic & Variations
Elevate your waffle game beyond the basic recipe! A classic waffle batter starts with flour, baking powder, sugar, salt, eggs, milk, and melted butter or oil. Adding egg yolks, oil, and milk simultaneously to dry ingredients, then beating until lump-free, is key. Gently fold in beaten egg whites for extra fluffiness.
For variations, consider adding a teaspoon of vanilla extract, cinnamon, or nutmeg to the classic recipe. Chocolate chips, blueberries, or sliced bananas can be incorporated directly into the batter. Experiment with different flours – whole wheat or gluten-free blends – for unique textures and flavors.
Remember, a smooth batter is crucial. Avoid overmixing, which can develop gluten and result in tough waffles.
Mixing the Perfect Waffle Batter
Achieving waffle perfection begins with the batter! Precise ingredient proportions are vital. Start with dry ingredients – flour, baking powder, sugar, and salt – thoroughly combined in a large bowl. In a separate bowl, whisk together wet ingredients: eggs, milk, and melted butter or oil.
Gradually add the wet ingredients to the dry, mixing gently until just combined. Avoid overmixing; a few lumps are acceptable. Overmixing develops gluten, leading to tough waffles. For an even lighter texture, separate the eggs and beat the whites until stiff peaks form, then gently fold them into the batter.
A smooth, yet not overworked, batter is the goal. Consistency should be pourable but not too thin. Let the batter rest for 5-10 minutes before using for optimal results.
Ingredient Proportions and Techniques
For classic waffles, a standard ratio is 1 ½ cups flour, 3 ½ teaspoons baking powder, 1 tablespoon sugar, ¼ teaspoon salt, 1 ¼ cups milk, 1 egg, and 3 tablespoons melted butter. Adjust sweetness to your preference.
Technique is key: Add egg yolks, oil, and milk simultaneously to the dry ingredients. Beat until just combined, avoiding overmixing. Fold in stiffly beaten egg whites gently with a spatula for a lighter, fluffier texture. This incorporates air, creating airy waffles.
Ensure ingredients are at room temperature for better emulsification. Melt butter but don’t overheat it. Precise measurements are crucial for consistent results. Experiment with different flours (whole wheat, almond) for varied flavors and textures.
Avoiding Lumpy Batter: Tips & Tricks
Lumpy batter is a common issue, but easily avoidable! First, whisk dry ingredients thoroughly to distribute baking powder and prevent clumps. Gradually add wet ingredients to dry, mixing gently until just combined. Overmixing develops gluten, leading to tough waffles and exacerbating lumps.
If lumps persist, try using a fine-mesh sieve to sift the dry ingredients before combining; Alternatively, briefly blend the wet ingredients separately before adding them to the dry. Avoid adding cold ingredients directly; room temperature helps emulsification.
Don’t panic over small lumps! They often disappear during cooking. However, large, stubborn lumps indicate insufficient mixing or ingredient temperature imbalances. A flat utensil, like a spatula, is best for gentle folding.
Using Your Waffle Maker Safely
Safety is paramount! Always operate your Toastmaster waffle maker on a stable, heat-resistant surface. Never leave it unattended while in use. Be mindful of the hot surfaces – the exterior may become warm during operation. Avoid touching the cooking plates directly, even after unplugging, as they retain significant heat.
Protect yourself from steam! Exercise caution when opening the lid, as steam can escape. Keep children and pets away from the appliance during and immediately after use. Never immerse the waffle maker in water or other liquids. Always unplug before cleaning or storing.
Solid surface countertops are vulnerable to heat damage. Always use a trivet or heat-resistant pad underneath the waffle maker to prevent scratches, cracks, or scorching. Inspect the power cord regularly for damage and discontinue use if any is found.
Protecting Your Countertops from Heat Damage
Countertop protection is crucial! Your Toastmaster waffle maker generates significant heat during operation, posing a risk to vulnerable surfaces. Solid surface countertops, like laminate or certain stones, are particularly susceptible to scratches, cracks, and scorching. Always prioritize prevention to maintain your kitchen’s aesthetic and structural integrity.
Utilize a heat-resistant barrier between the waffle maker and your countertop. A trivet, silicone mat, or even a folded kitchen towel can effectively dissipate heat and prevent damage. Ensure the barrier is larger than the waffle maker’s base to provide adequate coverage. Never place the hot appliance directly onto a sensitive surface.
Regularly inspect your countertop for any signs of heat stress, such as discoloration or minor cracking. Promptly address any concerns to prevent further damage. Consider designating a specific, protected area for waffle-making to minimize risk.
Cleaning and Maintenance
Regular cleaning is essential for optimal performance and longevity of your Toastmaster waffle maker. Always unplug the appliance and allow it to cool completely before commencing any cleaning procedures. Never immerse the unit in water or other liquids.
Cleaning the cooking surface requires gentle care. Wipe the grids with a damp cloth to remove excess batter and food residue. Avoid abrasive cleaners or scouring pads, as these can damage the non-stick coating. For stubborn residue, a soft brush may be helpful. Ensure the surface is thoroughly dried before storage.
Proper storage involves ensuring the unit is completely dry and stored in a cool, dry place. Avoid wrapping the power cord tightly around the appliance, as this can cause damage. A clean, dust-free environment will help maintain its condition.
Cleaning the Cooking Surface
Maintaining a clean cooking surface is crucial for consistently delicious waffles and extending the life of your Toastmaster waffle maker. After each use, and once the unit has completely cooled and is unplugged, begin by wiping away any visible batter or food particles with a soft, damp cloth.
Avoid harsh abrasives like scouring pads or steel wool, as these will undoubtedly damage the non-stick coating. For more stubborn, baked-on residue, gently use a soft brush dipped in warm, soapy water. Ensure all soap residue is removed with a clean, damp cloth.
Thorough drying is paramount before storing or reusing the waffle maker. Any remaining moisture can lead to corrosion or affect performance. A clean, dry surface ensures optimal cooking results every time.
Proper Storage of Your Waffle Maker
Ensuring correct storage will preserve the functionality and longevity of your Toastmaster waffle maker. Before storing, confirm the unit is completely cool, dry, and unplugged. Avoid wrapping the power cord tightly around the appliance, as this can damage the wiring over time.
Store in a cool, dry place away from direct sunlight and moisture. Ideally, place the waffle maker in its original packaging or a protective bag to prevent dust accumulation and scratches on the cooking surface.
Upright storage is recommended to prevent any potential residue from settling on the heating elements. Avoid stacking heavy items on top of the waffle maker, as this could cause damage. Proper care guarantees years of enjoyable waffle-making!
Troubleshooting Common Issues
Waffle maker not heating? First, ensure it’s properly plugged into a functioning outlet. Check the indicator lights – if none illuminate, the outlet may be the issue. Waffles sticking? The grids may not be adequately conditioned or sufficient cooking spray wasn’t applied.
Unevenly cooked waffles can result from uneven batter distribution. Ensure batter covers the entire grid surface. If the unit emits smoke, immediately unplug it and allow it to cool completely before inspecting for any food residue buildup.
Persistent issues? Refer to the warranty information for support. Avoid attempting self-repair, as this could void the warranty and pose a safety hazard. Always prioritize safety and consult the manual for detailed guidance.
Frequently Asked Questions (FAQ)
Q: Can I use cooking spray on the grids? A: Yes, a light coating of cooking spray is recommended before each use to prevent sticking, but avoid excessive amounts. Q: How often should I clean the waffle maker? A: Clean after each use to prevent residue buildup.
Q: What type of batter works best? A: Most standard waffle batters will work, but following a recipe designed for waffle makers yields optimal results. Q: Can I use the waffle maker for other foods? A: While possible, it’s best suited for waffles to maintain grid integrity.
Q: Is it safe to use on a laminate countertop? A: Always use a trivet to protect surfaces from heat damage. Q: What do the indicator lights mean? A: Refer to the ‘Understanding the Indicator Lights’ section for detailed explanations.
Warranty Information and Support
Warranty Coverage: Your Toastmaster waffle maker is warranted against defects in materials and workmanship for a period of one year from the date of purchase. This warranty covers normal household use. Damage resulting from misuse, abuse, or unauthorized repairs is not covered.
Claim Process: To initiate a warranty claim, please retain your proof of purchase and contact Toastmaster customer support. You may be required to return the product for inspection.

Customer Support: For assistance with operation, troubleshooting, or warranty inquiries, visit our website at [insert website address here] or call our toll-free number at [insert phone number here]. Our dedicated support team is available to assist you. Please have your model number (TWB4REG, TM-285WM, or FWB275) ready when contacting support.