Reznor Heater Troubleshooting Manual: A Comprehensive Guide
This manual provides essential guidance for diagnosing and resolving issues with Reznor heaters, referencing diagnostic lights, wiring diagrams, and maintenance schedules․
Understanding Your Reznor Heater
Reznor heaters are widely utilized for industrial and commercial heating applications, known for their robust construction and efficiency․ Before diving into troubleshooting, familiarize yourself with your specific model․ Locate the unit’s data plate, typically found inside the access panel, which details crucial information like model number, serial number, and gas type․
Understanding the heater’s components is key: the burner, heat exchanger, gas valve, control board, and fan motor all play vital roles․ The control board, often featuring diagnostic lights, provides valuable insights into operational status․ Referencing the wiring diagram, usually affixed inside the cover panel, is essential for safe and effective electrical troubleshooting․ Proper installation, adhering to the provided diagram, is paramount to avoid warranty voidance․
Safety Precautions Before Troubleshooting
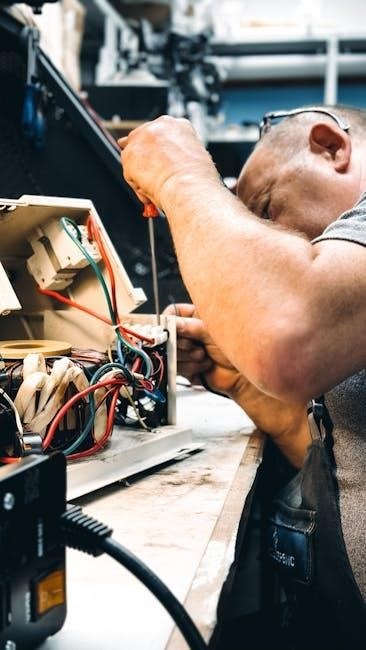
Prioritizing safety is paramount when working with Reznor heaters․ Always disconnect both electrical power and gas supply before commencing any inspection or repair․ Lockout/tagout procedures should be strictly followed to prevent accidental energization․ Be aware of potential hazards like hot surfaces and sharp edges․
Never attempt repairs if you are uncomfortable or lack the necessary expertise․ Improper wiring, as cautioned by Reznor distributors, can void the warranty and create dangerous conditions․ Ensure the heater is located where it’s protected from physical damage, like falling objects․ If working at height, utilize appropriate fall protection․ Remember, a professional inspection is recommended annually to maintain safe and efficient operation․
Common Reznor Heater Problems & Solutions
Reznor heaters can experience various issues, often exhibiting cyclical behavior․ A frequent problem involves the heater shutting off after a few minutes, requiring a power and gas reset – this often points to a control board fault․ Diagnostic lights on the control board are crucial for identifying the root cause, with codes typically found inside the unit’s cover panel alongside the wiring diagram․
Declining air quality suggests filter maintenance is needed․ Insufficient heat output or repeated on/off cycles also require investigation․ Regularly cleaning and inspecting components, like the burner, can prevent many issues․ Remember to consult the wiring diagram for correct installation and avoid warranty voidance․
Electrical Issues
Electrical problems can manifest as power supply failures or control board malfunctions, often indicated by diagnostic lights requiring careful interpretation and diagram reference․
Power Supply Problems
Addressing power supply issues is the first step in Reznor heater troubleshooting․ Begin by verifying the power source – check circuit breakers and ensure they haven’t tripped, and confirm the voltage matches the heater’s requirements․ Inspect the power cord for any visible damage, such as cuts or fraying, which could indicate a short circuit․
Loose connections at the power inlet or within the control panel can also disrupt power flow․ Carefully tighten all connections, ensuring they are secure․ If the heater still fails to power on, a blown fuse within the unit might be the culprit; locate and replace it with a fuse of the correct amperage․ Remember to always disconnect power before inspecting or replacing any electrical components․ A qualified technician should handle complex electrical repairs to avoid safety hazards and ensure proper functionality․
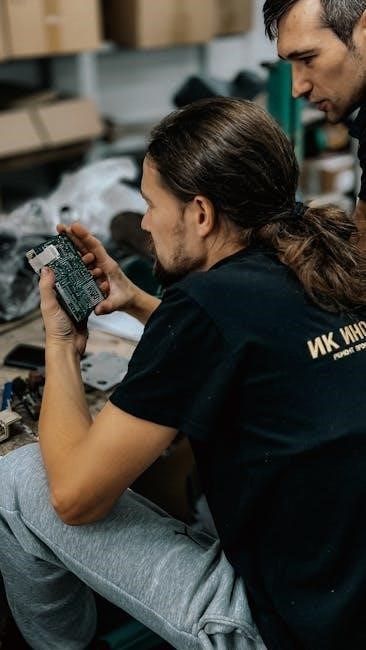
Faulty Control Board – Diagnostic Lights
Reznor heaters often utilize diagnostic lights on the control board to signal specific issues․ These lights provide valuable clues for pinpointing the source of the problem, eliminating guesswork․ Consult the wiring diagram located inside the control panel cover; it typically lists the meaning of each light combination․
Common codes indicate issues like flame rollout, high limit switch activation, or gas valve failures․ Carefully observe the blinking patterns and colors of the lights, referencing the manual’s code list․ If a specific code repeatedly appears, it suggests a consistent fault requiring attention․ A malfunctioning control board may need replacement by a qualified technician, ensuring the correct part number for your heater model is used․ Ignoring diagnostic codes can lead to further damage or unsafe operating conditions․
Wiring Issues & Diagram Reference
Incorrect or damaged wiring is a frequent cause of Reznor heater malfunctions․ Always disconnect power and gas before inspecting any wiring connections․ The wiring diagram, usually found inside the unit’s control panel, is crucial for identifying correct connections and troubleshooting faults․
Look for loose connections, corroded wires, or signs of burning․ Ensure all wiring conforms to the diagram furnished with the Reznor distributor; improper wiring voids the warranty․ Carefully check the grounding connections, as a poor ground can cause erratic operation․ If you’re uncomfortable working with electrical wiring, consult a qualified HVAC technician․ Remember, safety is paramount when dealing with electrical components․

Gas Supply Issues
Addressing gas-related problems requires caution; potential issues include valve malfunctions, pilot light failures, and insufficient gas pressure impacting heater performance․
Gas Valve Malfunctions
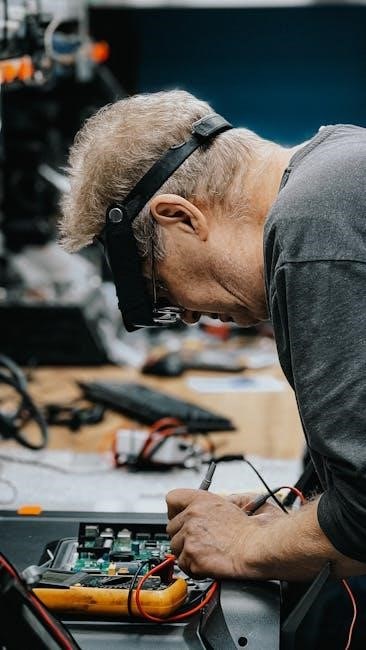
A malfunctioning gas valve is a common culprit when a Reznor heater fails to operate correctly․ Symptoms can range from a complete lack of gas flow to inconsistent heating․ Before attempting any repairs, always shut off the gas supply to the heater and ensure the area is well-ventilated․ Inspect the valve for visible damage, such as corrosion or cracks․
If the valve appears physically sound, use a multimeter to check for electrical continuity․ A lack of continuity indicates a faulty solenoid․ Replacement of the gas valve is often necessary, and it’s crucial to use a direct replacement part specified by the manufacturer․ Incorrect wiring or an improperly installed valve can create a hazardous situation, potentially leading to gas leaks․ Always refer to the wiring diagram furnished with the Reznor distributor for accurate installation guidance․
Pilot Light Problems & Relighting Procedures
A frequently encountered issue with Reznor heaters is a pilot light that repeatedly extinguishes․ This can stem from a dirty pilot assembly, low gas pressure, or a faulty thermocouple․ Before relighting, ensure the area is free of accumulated gas – a distinct gas odor indicates a leak, requiring immediate attention․
To relight, follow the manufacturer’s instructions precisely, typically involving turning the gas control to “Pilot,” pressing and holding the reset button while igniting the pilot, and continuing to hold the button for a specified duration․ If the pilot won’t stay lit, inspect and clean the pilot assembly․ A failing thermocouple prevents the gas valve from staying open; replacement is often necessary․ Always consult the heater’s documentation for specific relighting procedures․
Low Gas Pressure – Causes and Checks
Insufficient gas pressure is a common culprit behind Reznor heater malfunctions, leading to weak flames, pilot light issues, or complete failure to ignite․ Potential causes include a closed gas supply valve, a regulator malfunction, or restrictions within the gas line itself․ Begin by verifying the main gas supply valve is fully open․
Next, check the gas pressure at the heater using a manometer, comparing the reading to the manufacturer’s specified pressure․ If the pressure is low, investigate the regulator for damage or debris․ A qualified technician should inspect and potentially replace the regulator․ Ensure the gas piping is free from kinks or obstructions․ Improper wiring can also affect gas valve operation, so review the wiring diagram․
Heating Performance Issues
Addressing diminished heating capacity involves examining heat output, cycling patterns, and air quality, ensuring optimal performance and comfort from your Reznor heater․
Insufficient Heat Output
Reduced heating capacity can stem from several factors requiring systematic investigation․ First, verify the thermostat settings are correct and demand heat․ A clogged air filter significantly restricts airflow, hindering heat distribution; regular replacement is crucial․ Inspect the burner for debris or incomplete combustion, potentially indicating a need for cleaning or adjustment․
Furthermore, assess the heat exchanger for blockage or damage, as this directly impacts heat transfer efficiency; Confirm adequate gas supply pressure, as low pressure limits burner output․ Check for proper ventilation, ensuring exhaust gases aren’t recirculating․ Finally, a failing fan motor can reduce airflow, diminishing heating performance․ Thoroughly examine each component to pinpoint the root cause and restore optimal heat output from your Reznor heater․
Heater Cycles On and Off Repeatedly
Frequent short-cycling indicates an underlying control or operational issue demanding attention․ A common culprit is a faulty control board; examine diagnostic lights for error codes as indicated on the wiring diagram inside the cover panel․ Low gas pressure can also cause this, as the heater struggles to maintain consistent combustion․
Inspect the flame sensor – a dirty or malfunctioning sensor may intermittently shut down the heater․ Thermostat problems, such as incorrect calibration or a failing relay, can also trigger short-cycling․ Ensure proper airflow isn’t obstructed, and verify the gas valve is functioning correctly․ Addressing these potential causes will restore stable heater operation and prevent premature wear․
Declining Air Quality & Filter Maintenance
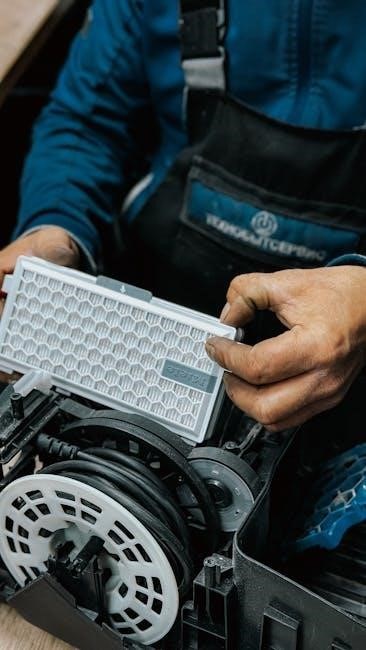
Reduced air quality signals a need for immediate filter attention, impacting both heater efficiency and indoor air health․ Regularly cleaning or replacing Reznor heater filters is paramount; accumulated dust and debris restrict airflow, forcing the heater to work harder and potentially overheat․
A clogged filter also diminishes heat output and can contribute to uneven heating․ Inspect filters monthly, and replace them as needed, especially during periods of heavy use․ Consider upgrading to higher-efficiency filters for improved air purification․ Proper filter maintenance extends the heater’s lifespan and ensures optimal performance, delivering clean, warm air consistently․
Component Specific Troubleshooting
Detailed inspection and cleaning of burners, heat exchangers, and fan motors are crucial for pinpointing component failures and restoring heater functionality․
Burner Issues – Cleaning and Inspection
Burner problems often manifest as inconsistent heating or incomplete combustion․ Begin by thoroughly inspecting the burner for any signs of blockage, corrosion, or damage․ Accumulated dust, debris, or rust can obstruct gas flow and hinder proper ignition․ Carefully clean the burner assembly using a soft brush and vacuum to remove any obstructions․
Pay close attention to the burner orifices, ensuring they are clear and unobstructed․ A clogged orifice can lead to a weak flame or incomplete combustion․ If significant corrosion is present, consider replacing the burner assembly․ Always disconnect the gas supply and power before performing any maintenance on the burner․ Proper burner maintenance is vital for efficient and safe heater operation, ensuring optimal heat output and minimizing potential hazards․
Heat Exchanger Problems
A compromised heat exchanger represents a serious safety concern, potentially leading to carbon monoxide leaks․ Inspect the heat exchanger for cracks, corrosion, or signs of deterioration․ Look for soot buildup, which indicates incomplete combustion and possible exchanger damage․ Any visible damage necessitates immediate professional attention; do not attempt repairs yourself․
Reduced heating efficiency can also signal heat exchanger issues․ A blocked or damaged exchanger restricts heat transfer, resulting in insufficient warmth․ Regular professional inspections are crucial for detecting subtle heat exchanger problems before they escalate․ Remember, the heater must be located so as to be protected from damage․ Addressing heat exchanger issues promptly ensures safe and efficient operation, protecting occupants from hazardous fumes․
Fan Motor Failures
Fan motor failures manifest as reduced airflow or complete cessation of air movement․ Initial checks involve verifying power supply to the motor and inspecting for obstructions hindering fan rotation․ A humming sound without fan movement often indicates a seized motor or capacitor issue․ Before any electrical work, disconnect power to the heater!
Overheating, caused by dust accumulation or bearing failure, is a common culprit․ Regular cleaning and lubrication (if applicable) can prevent premature motor failure․ If the motor continues to fail, replacement is typically necessary․ Ensure the replacement motor matches the original specifications, and wiring is done according to the furnished diagram․ Professional assistance is recommended for complex repairs or electrical connections․

Maintenance & Prevention
Proactive maintenance, including filter changes and annual professional inspections, significantly extends heater lifespan and prevents costly repairs, ensuring optimal performance․
Regular Filter Replacement
Maintaining clean filters is paramount for efficient Reznor heater operation and air quality․ Dirty filters restrict airflow, forcing the heater to work harder, reducing heat output, and potentially leading to component failure․ Regularly inspect your filter – at least monthly during peak usage – and replace it when dirty․
The frequency of filter replacement depends on usage and environmental conditions․ In dusty environments, more frequent changes are necessary․ A clogged filter also impacts air quality, circulating dust and allergens․ Refer to your Reznor heater’s manual for the correct filter size and type․ Simple, consistent filter replacement is a cost-effective preventative measure, extending the life of your heater and ensuring comfortable, clean heating․
Annual Professional Inspection
Scheduling an annual professional inspection is crucial for ensuring the long-term safety and efficiency of your Reznor heater․ A qualified HVAC technician can identify potential problems – like gas leaks, carbon monoxide risks, or developing electrical issues – before they escalate into costly repairs or dangerous situations․
Professional inspections include a thorough cleaning of the burner, heat exchanger, and other vital components․ Technicians verify proper gas pressure, check wiring connections (ensuring compliance with the diagram furnished with the unit), and assess overall system performance․ This preventative maintenance extends the heater’s lifespan, optimizes energy efficiency, and maintains warranty validity, as improper wiring can void it․
Importance of Correct Wiring Installation
Proper wiring is absolutely fundamental to the safe and reliable operation of your Reznor heater․ Incorrect wiring can lead to a multitude of problems, ranging from minor malfunctions to severe hazards like electrical fires or gas leaks․ Always adhere strictly to the wiring diagram provided with your specific Reznor model; deviations can immediately void the warranty․
Ensure all connections are secure and that the correct wire gauges are used․ A professional installation guarantees compliance with local electrical codes and minimizes the risk of short circuits or overheating․ Remember, a Reznor distributor emphasizes the importance of wiring according to the furnished diagram․ Ignoring this crucial step compromises safety and system performance․